
Last updated October 8, 2026
Non-destructive entry first, always - and we re-key Schlage, Kwikset, and Baldwin locks on the spot while you watch
You get a price before we start. It does not change when we arrive. No surprises.
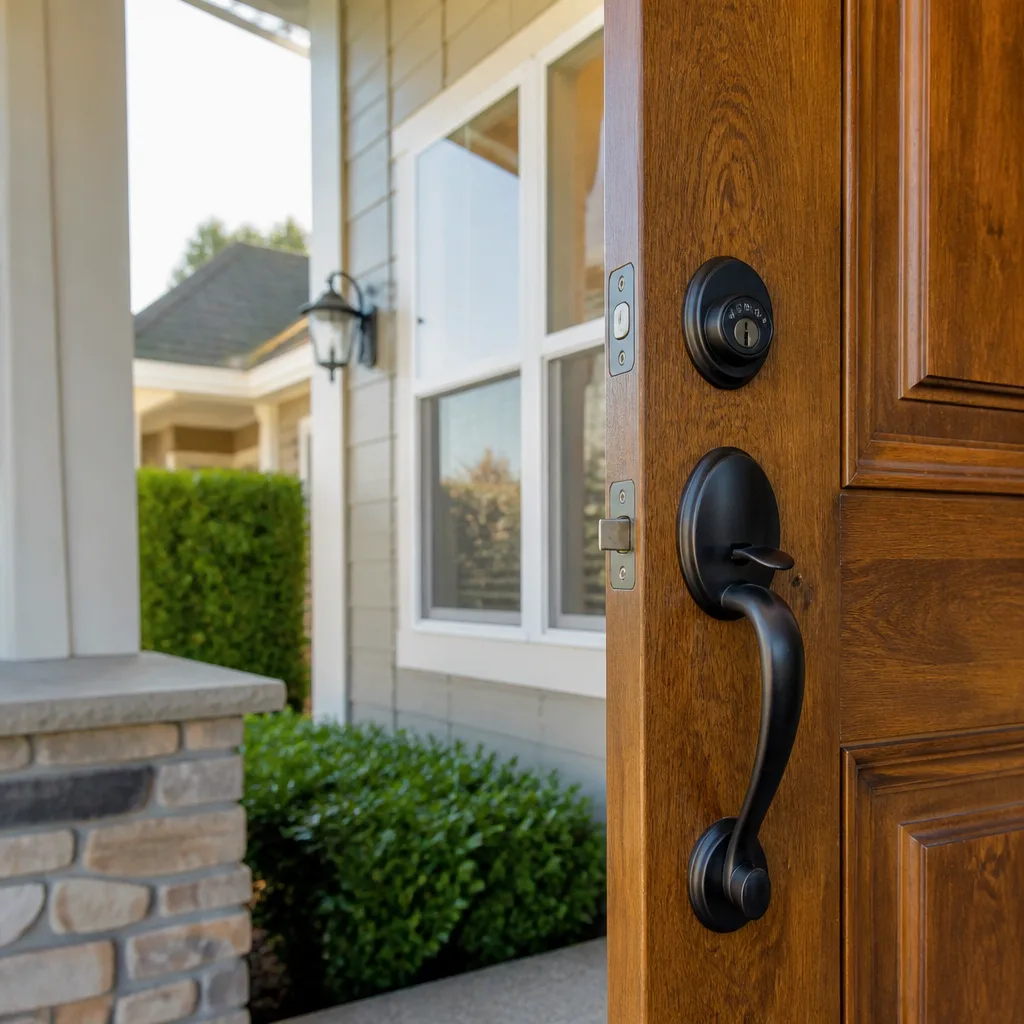
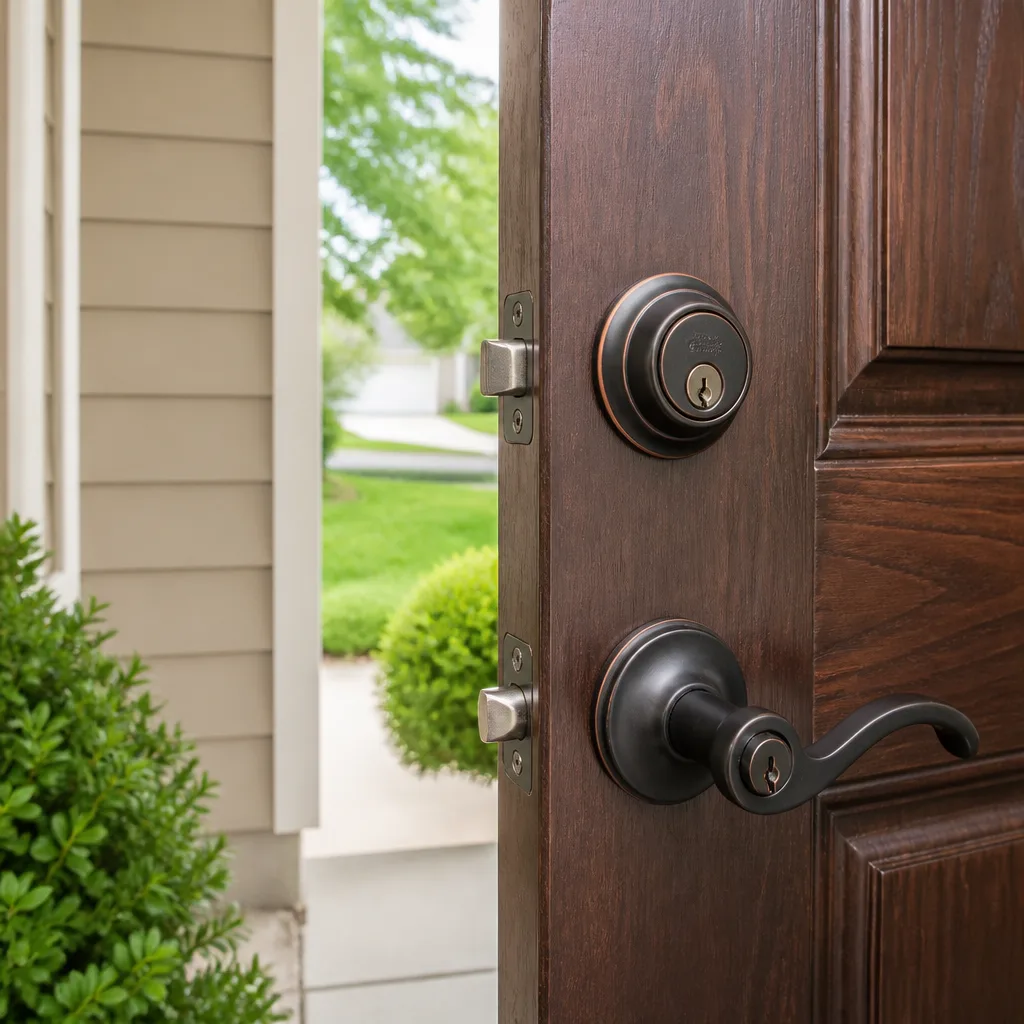
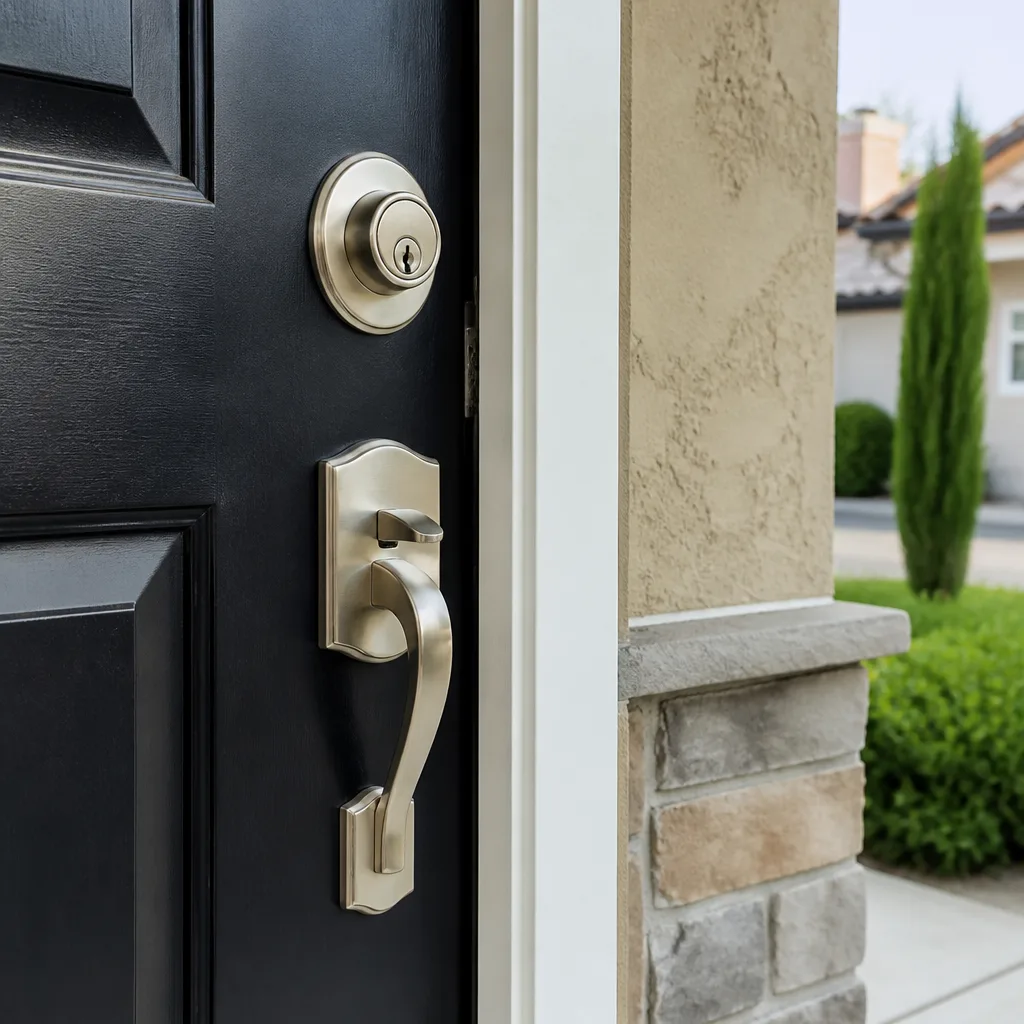
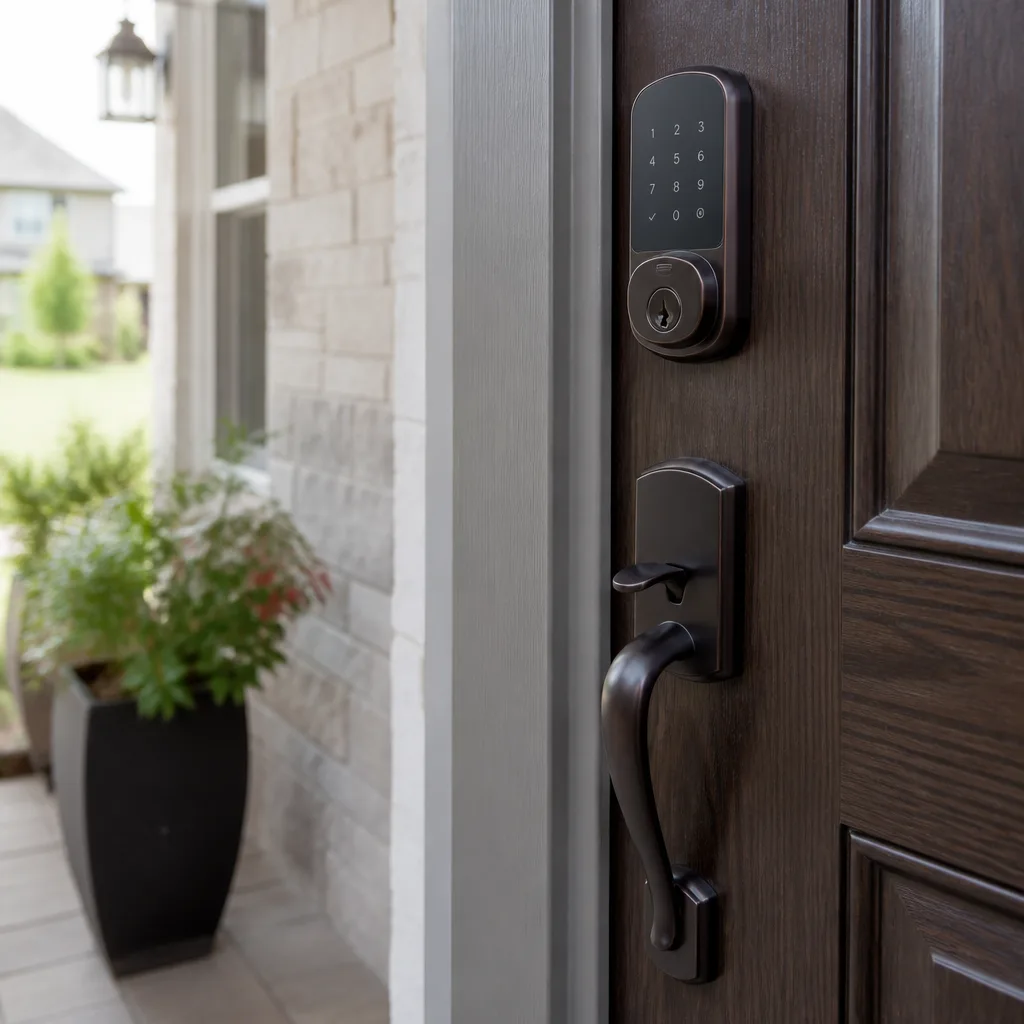
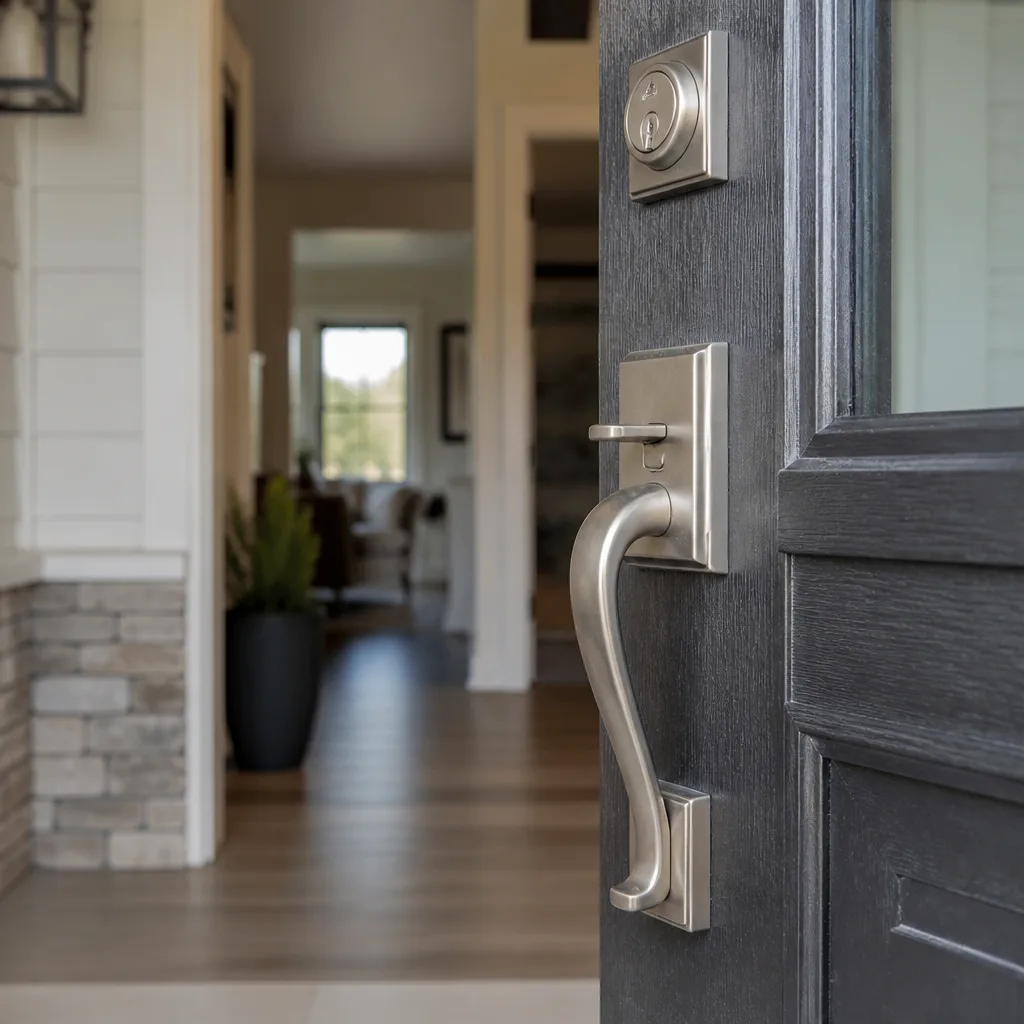
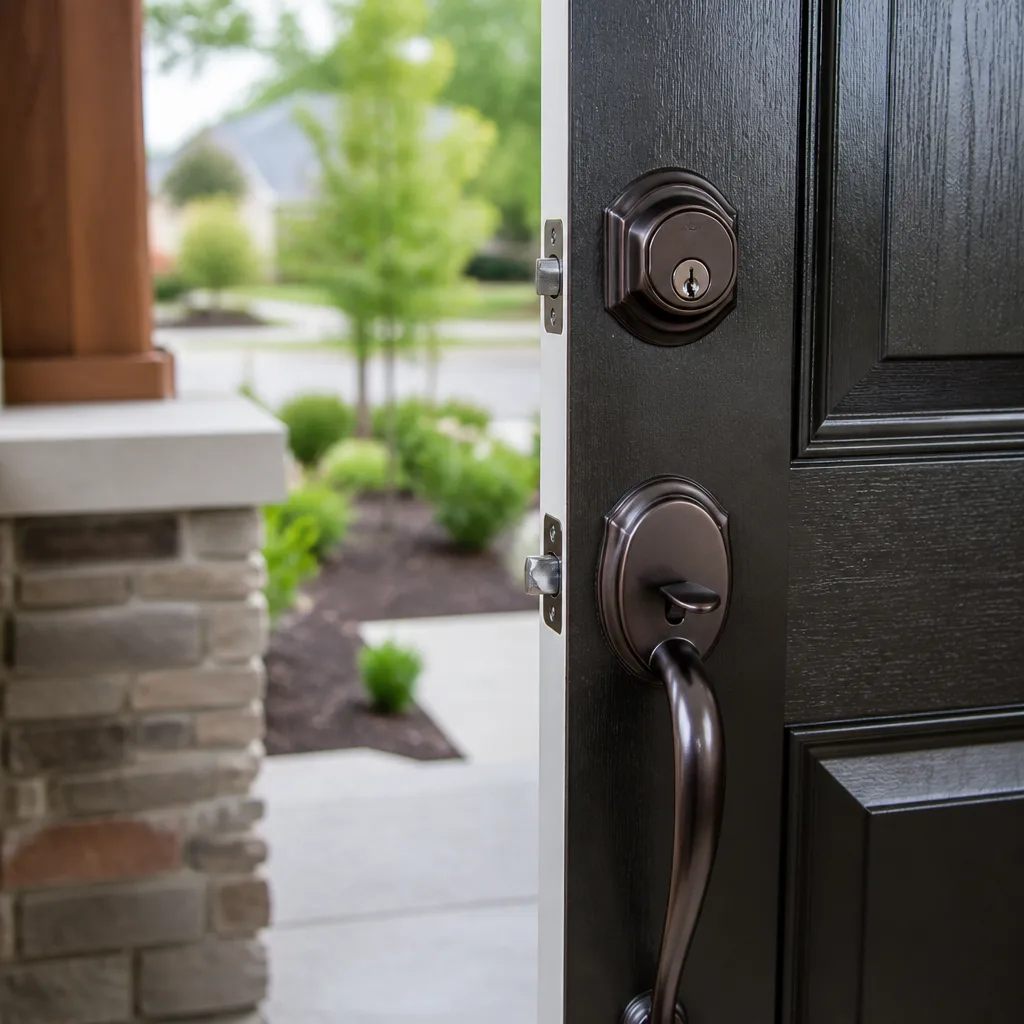
Change Door Locks Troubleshooting: Common Problems and How to Fix Them
A new deadbolt that’s harder to lock than the old one isn’t “breaking in.” It’s misaligned by as little as 1/8 of an inch, and that’s entirely fixable without buying a single part. After nearly two decades of our Change Door Locks services across Los Angeles, from Hancock Park craftsman homes to Sherman Oaks condos, we’ve learned that most post-installation problems have nothing to do with defective hardware. They come down to the final ten minutes of the job: how carefully the strike plate was aligned, how tight the cylinder screws were set, and whether anyone actually tested the lock before packing up. This guide walks you through the four most common failures, how to diagnose each one in under five minutes, and exactly when a fix is safe for a homeowner versus when it needs a trained technician.
Quick Answer
Most problems after a lock change are installation errors, not bad hardware. The four most common issues are bolt-to-strike misalignment, key turn resistance from an over-tightened cylinder, latch spring tension problems, and thumb-turn stiffness from improper set-screw torque. Each has a specific diagnosis and fix, and about half of them take five minutes with a standard screwdriver.
Table of Contents
- Problem 1: The Bolt Scrapes or Won’t Fully Extend
- Problem 2: The Key Turns Hard or Sticks
- Problem 3: The Latch Won’t Catch or Pops Back
- Problem 4: The Thumb-Turn Is Stiff or Loose
- Upgrading Lock Grade on an Older Door: What Changes
- The Proper Installation Test: What a Technician Should Do Before Leaving
- What Warranty Language to Look For (And What Ours Covers)
- Common Mistakes to Avoid
- When to Call a Professional
- Frequently Asked Questions
- The Bottom Line
Problem 1: The Bolt Scrapes or Won’t Fully Extend
You turn the key or the thumb-turn, and the deadbolt moves partway before grinding to a stop. The bolt is hitting the edge of the strike plate instead of sliding through the opening. This is the single most common post-installation issue we see in Los Angeles, and it’s almost always a strike plate that’s off by a fraction of an inch.
What’s Actually Wrong
When a new lock goes on a door, the strike plate (the metal plate screwed into the door frame) rarely lines up perfectly with the new bolt’s exact throw path. Old strike plates were positioned for old locks, and wood frames shift with humidity. Los Angeles may not have the extreme humidity swings of Miami, but our older homes, especially in neighborhoods like Los Feliz and Pasadena where door frames date back 60 to 80 years, have settled enough that new hardware lands just slightly off.
The 5-Minute Diagnosis
- Close the door and lock it slowly while watching the bolt.
- Note where the bolt makes contact with the strike plate: top edge, bottom edge, or the side closest to the door stop.
- Open the door and look at the strike plate. Fresh scratches or shaved metal tell you exactly where the interference is.
- Check the plate’s screw tightness. A loose plate shifts under pressure.
The Fix (Homeowner Safe)
Loosen the two strike plate screws. Shift the plate a millimeter or two in the direction that clears the scrape. Retighten and retest. If the shift still isn’t enough, remove the plate and enlarge the recess behind it using a sharp chisel or a rotary tool. Go slow: you’re removing a tiny amount of wood, not carving channels. Reinstall and test again. This is a 10-minute job with a Phillips screwdriver and a chisel. No new parts.
When to call a tech: if the bolt still won’t extend after repositioning, or if the door frame itself has cracked or warped, the door may need professional adjustment or the frame may require a deeper pocket. That’s a door lock repair in Los Angeles situation where the cost of guessing wrong is a door that no longer closes securely.
Problem 2: The Key Turns Hard or Sticks
A brand-new lock should feel smooth from the first turn. If the key requires force, resists insertion, or sticks halfway through the rotation, something is binding inside the cylinder.
What’s Actually Wrong
During installation, the technician (or you) mounted the cylinder into the escutcheon or edge bore and over-torqued the cylinder screws. On brands like Kwikset, Baldwin, and Medeco, the cylinder needs a specific tightness: snug enough to stay put, loose enough that the internal pins and springs aren’t compressed against the housing. Over-tightening deforms the cylinder body by microscopic amounts, which is enough to make the plug drag against the pins.
A second cause is debris. Fresh installations often leave small brass shavings or wood dust inside the bore. Los Angeles’s dry air doesn’t help; dust from open windows settles into locks within days.
The 5-Minute Diagnosis
- Remove the key. Does it come out easily? A key that binds on removal suggests the cylinder is pinched.
- Loosen the cylinder’s mounting screws one-quarter turn. Try the key again.
- If loosening helps immediately, you’ve found the problem.
- If loosening doesn’t help, remove the cylinder and check for debris or burrs inside the lock body.
The Fix (Homeowner Safe)
Back the cylinder screws off one-quarter to one-half turn. Test the key. If smooth, you’re done. If not, remove the cylinder entirely and blow out the bore with compressed air. Wipe the cylinder’s tailpiece and the inside of the edge bore with a dry cloth. Reinstall, tighten only until firm, and test.
When to call a tech: if the key turns hard even with the cylinder removed from the door, the cylinder itself may be defective, or the key may be miscut. High-security cylinders from Medeco and Baldwin are precision instruments; forcing them causes permanent damage. A new cylinder replacement is straightforward for a technician but frustrating if you’ve never disassembled one before. Our residential locksmith services in Los Angeles include cylinder inspection and replacement, often same-day.
Problem 3: The Latch Won’t Catch or Pops Back
You close the door and the latch slips past the strike plate, or it catches but the door pops open with light pressure. This is different from the deadbolt problem: the spring-loaded latch, not the bolt, is failing.
What’s Actually Wrong
Three common culprits: the latch spring is too weak for the door’s weight, the latch is installed backwards, or the strike plate recess is too shallow. The third one is the most common in Los Angeles, particularly on doors in mid-century homes where the original strikes were filed down by previous handymen.
The 5-Minute Diagnosis
- Open the door and operate the handle. Does the latch fully retract and snap back with a clean click?
- If the latch is sluggish or doesn’t fully extend, the spring is weak or the mechanism is gummed up.
- Look at the latch face. Most quality latches have a beveled edge that faces the strike. If the flat edge faces the strike, it’s backwards.
- Close the door slowly and watch where the latch meets the strike. If the latch enters but won’t seat fully, the recess behind the strike plate is too shallow, or the plate is slightly proud of the frame.
The Fix (Homeowner Safe)
For a backwards latch: remove the two edge screws, slide the latch out, rotate 180 degrees, and reinstall. Five minutes. For a weak or sluggish latch: remove it and spray a small amount of dry graphite into the mechanism, then operate it by hand 10 or 15 times. If it still doesn’t snap, replace the latch, they cost between $12 and $35 in most Los Angeles hardware stores. For a shallow recess: remove the strike plate, deepen the recess with a chisel, and reinstall.
Problem 4: The Thumb-Turn Is Stiff or Loose
The thumb-turn is the small rotating knob on the inside of the deadbolt. It should turn with light, even resistance and stop firmly at both ends. A thumb-turn that requires a white-knuckle grip, or one that flops around with no resistance, indicates improper set-screw torque.
What’s Actually Wrong
Deadbolts like those from Kwikset and Yale use a set screw on the inside thumb-turn assembly, often hidden under a small cover plate or at the base of the turn. Overtightening this screw crushes the internal washer stack and makes turning feel gritty. Under-tightening leaves the thumb-turn wobbly and creates play that eventually strips the set screw threads.
The 5-Minute Diagnosis
- Locate the set screw. It’s typically a hex or Phillips screw on the thumb-turn’s shaft or underside.
- Turn the thumb-turn to the locked position, then to the unlocked position. Feel for grinding, catching, or side-to-side wobble.
- If it feels rough, loosen the set screw one-eighth turn and retest.
- If it wobbles, tighten one-eighth turn and retest.
The Fix (Homeowner Safe)
This is a fine-adjustment task. Work in eighth-turn increments. The goal is a thumb-turn that rotates smoothly with no lateral play. Do not use a power driver; hand-tighten only. Overtorquing is exactly what caused most thumb-turn problems in the first place.
When to call a tech: if the thumb-turn still feels stiff after loosening, the internal mechanism may have a manufacturing burr or the rose bushing may be improperly seated. Any reputable locksmith should correct this under warranty with no charge, since it’s a quality-of-installation issue, not a user error. For Change Door Locks Warning Signs Every Homeowner Should Know, check our blog.
Upgrading Lock Grade on an Older Door: What Changes
When a homeowner in Los Angeles replaces a Grade 3 builder lock with a Grade 1 deadbolt from Baldwin or Medeco, they don’t just swap one piece of metal for another. See our guide on Choosing the Right Locksmith Brand: A Buyer’s Guide for Los Angeles. They’re installing hardware with fundamentally different dimensions. Grade 1 deadbolts have larger bolt housings, longer tailpieces, and thicker strike plates than the locks that came with their door. On a 1950s-built door in Eagle Rock or a 1970s door in Mar Vista, the existing bore holes and strike recesses were drilled for much smaller hardware.
The Specific Problems We See
- Bore diameter mismatch: Some older doors have 1.5-inch face bores. Modern deadbolts require 2.125 inches. The technician must enlarge the bore precisely, and a sloppy job leaves the cylinder drooping.
- Strike plate depth: Grade 1 strike plates are thicker. On older frames, the plate sits proud of the wood, and the deadbolt barely engages. This is a security vulnerability as much as a mechanical annoyance.
- Bolt throw length: High-security deadbolts have a one-inch throw. Older strike pockets may be half as deep, so the bolt bottoms out halfway and the key won’t complete its rotation.
- Door thickness: Baldwin full-mortise locks are sized for doors between 1.75 and 2.25 inches thick. Some older Los Angeles interior doors are 1.375 inches. The hardware physically doesn’t fit without custom modification.
If you’re upgrading lock grade, the person installing it needs to understand door prep as a structural task, not a hardware swap. Our door lock change service in Los Angeles includes evaluating the existing door prep before quoting, because the difference between a Grade 1 lock properly installed and one jammed into a door that can’t accept it is the difference between real security and a false sense of it.
The Proper Installation Test: What a Technician Should Do Before Leaving
Here’s the test every lock installation should pass before the technician walks back to their van. If the person who did your lock change didn’t run through these steps, you’re within your rights to ask them to before signing off.
- Open-close cycle test: Open and close the door five times. Listen for scraping, rattling, or the latch hitting the frame in a way it shouldn’t.
- Key insertion test: Insert and remove the key three times. It should slide in cleanly and pull out without resistance.
- Lock-unlock cycle test: Lock and unlock the deadbolt from both sides five times each. The key side and thumb-turn side should both operate with the same light resistance.
- Door seal test: With the door closed and locked, press on the door. There should be no movement that pulls the bolt away from the strike.
- Visual alignment check: The bolt should enter the strike plate opening dead-center, not scraping any edge.
- Hardware security check: The technician should physically verify every screw is tight, including the set screws on thumb-turns and the cylinder screws.
This takes under three minutes. If a technician skips it, that’s a red flag regardless of what the invoice says. In our own work across Los Angeles, from West Hollywood rentals to Agoura Hills family homes, we run this test on every single lock we touch, no exceptions, and we don’t leave until the client has watched us run it.
What Warranty Language to Look For (And What Ours Covers)
Warranty language in the locksmith trade is surprisingly vague. “Satisfaction guaranteed” means nothing enforceable. “100% quality workmanship” is marketing copy. What you actually want to see is a written statement that names the specific scenarios in which the company returns and fixes the work at no charge.
The Dunmore 365-Day Done Right Promise states plainly: every repair and lock change is covered for 365 days from the completion date. If the repair fails during that year, we return and fix it at no charge. No diagnostic fee, no trip charge, no fine print about “customer misuse.” If a strike plate shifts and the bolt starts scraping two months after installation, that’s on us. If a cylinder starts binding nine months in, we make it right.
This matters in the context of troubleshooting because installation errors often don’t reveal themselves immediately. A screw that’s half a turn too tight may take weeks of temperature cycling before it starts binding. A strike plate that’s fractionally off may work fine through July and August, then bind when autumn humidity swells the door frame. When you’re comparing locksmiths in Los Angeles, ask this question: “If the lock develops a problem in six months, what does it cost me to have you come back?” If they can’t answer in one sentence with a number, that’s your answer.
Common Mistakes to Avoid
- Forcing a stiff key. If a new lock’s key doesn’t turn with light pressure, never force it. The extra torque grinds internal pins and voids most manufacturer warranties. Instead, loosen the cylinder screws and retest.
- File first, diagnose second. A chisel-happy homeowner will enlarge a strike plate opening before checking whether the plate simply needs to shift. Once metal is removed, the only fix is a new strike plate.
- Ignoring a wobbly thumb-turn. Loose thumb-turn assemblies grind against the set screw threads every time you use the lock. The repair cost escalates from a simple tightening to a full replacement if it’s ignored for months.
- Using WD-40 or household oil. Wet lubricants attract dust and gum up lock internals. Los Angeles’s dry, dusty air makes this worse. Use dry graphite or a Teflon-based dry lubricant only.
- Skipping the full-cycle test. Testing a lock once from the outside and once from the inside catches only obvious failures. The five-cycle test described above catches the intermittent problems that show up later.
- Assuming the new lock is defective. In our experience, well over 90% of “defective” locks from quality manufacturers like Baldwin, Medeco, and Kwikset are actually misinstalled. Start with the installation before initiating a product return.
- Hiring techs without asking about the test. Ask any locksmith this before scheduling: “Do you run a full open-close and lock-unlock cycle test before you leave?” The answer tells you everything.
When to Call a Professional
If the diagnosis points to a frame problem, like a cracked door jamb or a bore hole that’s been enlarged too aggressively, stop and call a professional. Attempting to repair a split frame with wood filler and longer screws is a temporary fix that leaves the door vulnerable. The same applies to high-security hardware: Medeco and Baldwin cylinders are not forgiving of DIY disassembly, and a bent tailpiece or damaged plug costs more to replace than a simple service call would have. Dunmore Locksmith offers free estimates in Los Angeles, call (910) 714-4287. We’ll tell you over the phone whether the issue sounds like a five-minute adjustment or a full replacement, and the quoted price is the price on the invoice.
Frequently Asked Questions
Your new deadbolt is hard to turn because the cylinder screws are over-tightened, compressing the internal mechanism, or because the cylinder is binding against a bore hole that’s slightly too small or misaligned. Loosen the cylinder screws a quarter-turn and test the key again. If that doesn’t help, contact the installer; this is an installation defect, not normal break-in, and it should be corrected free of charge.
A new lock fails to latch properly when the strike plate is misaligned, the recess behind it is too shallow, or the latch itself is installed backward. Check which way the beveled side of the latch faces, then check the strike plate alignment and depth. Most latch problems are corrected by shifting the plate or deepening its recess by a fraction of an inch, which takes about ten minutes.
You know a lock was installed correctly if it passes the five-cycle test: the door opens and closes smoothly, the key inserts and removes without resistance, the deadbolt locks and unlocks cleanly from both sides, the bolt doesn’t scrape the strike plate, and every screw and set screw is tight. Ask your technician to run through this before they leave, or call us at (910) 714-4287 and we’ll walk you through it over the phone.
Most strike plate misalignments are safe for a homeowner to fix with a Phillips screwdriver and, if needed, a sharp chisel. Loosen the plate, shift it slightly, and retest. If the misalignment is severe or the door frame is cracked, stop and call a professional, because the frame itself may need structural repair before any lock will work reliably.
Higher-grade locks cause more installation problems on older homes because Grade 1 deadbolts have larger housings, longer bolts, and thicker strike plates than the original hardware, and older Los Angeles doors often have smaller bore holes and shallower strike recesses. The fix is professional door prep, not forcing the hardware in, which is why a proper installation should always include checking the door’s dimensions before quoting.
A locksmith warranty should cover, in writing and for a specific period, the return trip and repair if the lock fails due to installation error. Dunmore Locksmith’s 365-Day Done Right Promise states that every repair and lock change is covered for a full year: if it fails, we return at no charge, no diagnostic fee, no exceptions. If a locksmith can’t put warranty terms in writing, that’s a reason to keep looking.
The Bottom Line
Most post-installation lock problems are not the lock’s fault. They’re the final-ten-minutes problems: a strike plate shifted off by an eighth of an inch, a cylinder screw tightened one turn past snug, a latch installed with the bevel facing the wrong way. These are routine to fix when caught early and costly to ignore when left alone. Run the five-cycle test after every lock change. Ask for written warranty terms before you hire. And if the lock was installed by a company that won’t come back to correct a misaligned bolt or a stiff key, you now know the problem is the installer, not the hardware. To talk through your specific situation, call Dunmore Locksmith at (910) 714-4287 and we’ll help you diagnose it over the phone before anyone gets in a van.
Written by Perry Osgood, Owner at Dunmore Locksmith, serving Los Angeles since 2007. Browse more guides & resources.